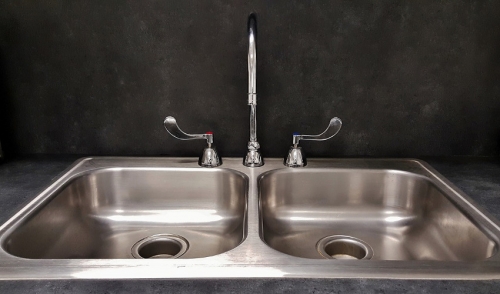
How to Install a Kitchen & Bathroom Sink
If you’d like to spruce up your kitchen or bathroom with a shiny new sink and faucet, you’ll be happy to know it’s a job that can be handled by those with just a little DIY experience. Depending on the scope of the overall job, this is usually a weekender project -often finished in just a couple hours.
First let’s talk about the types of sinks you’ll most likely encounter. Many sinks take up the entire surface of the cabinet, while others are recessed into the countertop material. Many bathroom sinks are part of the entire vanity top and require fewer steps for installation. To install a recessed sink, however, you’ll need to cut a hole in the countertop to accommodate it. This is usually not too complicated, and many manufacturers include a template to make things simpler. Most sinks of this type have a lip and simply drop down over the hole. Cutting the hole is more forgiving since the cut will hide beneath the lip. Other sinks of this type install from below, and the edge of the cut is exposed. This type of sink usually is installed in solid surface or stone countertops, where the holes are precut.
Regardless of the type of sink you will be installing, all pros agree that it is best to install the faucet and drain components to the sink before it is secured in place, because of the easier access. It is also easier to “rough in” the plumbing below without the sink, which tends to make a confined space even more confined. To do this, it’s best to turn the sink upside down on a soft, scratch free surface before attaching the faucet and drain assemblies. Later, once the sink is secured to the counter, it’s just a matter of tying the connections together. Below, we’ll discuss the basic steps involved in installing most sinks:
For recessed sinks, you’ll need to cut a hole in the countertop. Mark the back edge of the countertop and center your sink in the cabinet. If there is a template available, Use your center mark to line it up. Be sure to leave at least 1 ½ inches of space from the backsplash of the countertop. Trace around your template so that you can make your cut. If you don’t have a template, flip your sink over and make a center mark on the back lip. Hold the sink upside down on your countertop and line up the center mark on the sink with the centerline on the countertop. Remember to leave at least a 1 ½ inches from the back edge. Trace around your sink and remove it from the counter. Measure the width of the lip and subtract 1/8 of an inch. For example, if the lip of the sink is 1 inch, then mark a second line 7/8 of an inch inside of the outline you drew on your countertop. Use a drill bit slightly wider than a jigsaw blade and drill a hole in each corner of your outline. Make sure that you drill at a 90° angle. Next, use a jigsaw blade to cut from corner to corner. Carefully remove the cut out material. Inspect the opening to see if any trimming is needed.
Provided the faucet and waste assemblies are attached to the sink, run a bead of caulk around the hole in the countertop. Some manufacturers may include a sealer gasket with the sink, making the caulk unnecessary. Install the retaining clips around the sink’s edge and guide the sink into the hole. Tighten the retaining clips gradually, moving from clip to clip, and wiping excess caulk as it oozes from around the sink’s edge.
Make the final connections between the drain tailpiece and drain trap, as well as fastening the supply lines for the faucets. Using flexible connectors for supply may help this step go much smoother.
